Celery is a rewarding but slow-growing plant that requires patience and care. It thrives in cool weather and needs consistent moisture and attention throughout its lifecycle. Here’s a full guide on germinating celery seeds, transplanting them, growing them to maturity, harvesting, and replanting.
Step 1: Germination Process
Celery seeds are small and can be slow to germinate, often taking up to 3 weeks. Here’s how to ensure a successful start:
- Soak Seeds: Soak celery seeds in warm water for 12–24 hours before sowing to improve germination rates.
- Prepare Soil: Use a fine seed-starting mix, which retains moisture but drains well.
- Sow Seeds: Sow seeds on the surface of the soil and press them in lightly. Do not cover with soil, as celery seeds need light to germinate.
- Humidity Dome: Cover trays with a clear plastic lid or wrap in plastic to maintain humidity.
- Temperature: Keep the soil between 20–24°C (68–75°F).
- Light: Provide at least 12–16 hours of bright light daily using grow lights or a sunny window.
Germination Table: Requirements and Importance
| Requirement | Details | Importance |
|---|---|---|
| Soil Type | Fine seed-starting mix | Ensures seed contact and consistent moisture |
| Light Exposure | 12–16 hours daily, indirect | Triggers germination and prevents legginess |
| Temperature | 20–24°C (68–75°F) | Optimal for sprouting |
| Humidity | High, use humidity dome | Prevents seed desiccation |
| Watering | Even moisture, not soggy | Supports seed hydration without rot |
| Seed Soaking | 12–24 hours pre-sowing | Softens seed coat for faster germination |
Step 2: Transferring Seedlings to Garden Bed
Once the seedlings have 2–3 true leaves:
- Harden Off: Acclimate seedlings by placing them outside for increasing periods over 7–10 days.
- Prepare Bed: Celery prefers rich, well-draining soil amended with compost.
- Plant Spacing: Space plants 20–30 cm (8–12 inches) apart in rows 60 cm (24 inches) apart.
- Water In: Water thoroughly after transplanting.
Step 3: Growth and Maintenance
Celery is sensitive to dry conditions and heat. Maintenance includes consistent watering, mulching, and monitoring for pests and diseases.
Maintenance Table: Requirements and Importance
| Requirement | Details | Importance |
|---|---|---|
| Watering | 2.5–5 cm (1–2 inches) per week | Prevents bolting and keeps stalks tender |
| Temperature | 15–21°C (60–70°F) | Supports steady growth; extreme heat/cold damages plants |
| Sunlight | Full sun to partial shade | Encourages healthy growth; too much shade reduces yield |
| Mulching | Organic mulch like straw | Retains moisture and suppresses weeds |
| Pest Control | Watch for aphids, slugs, leaf miners | Prevents plant damage and crop loss |
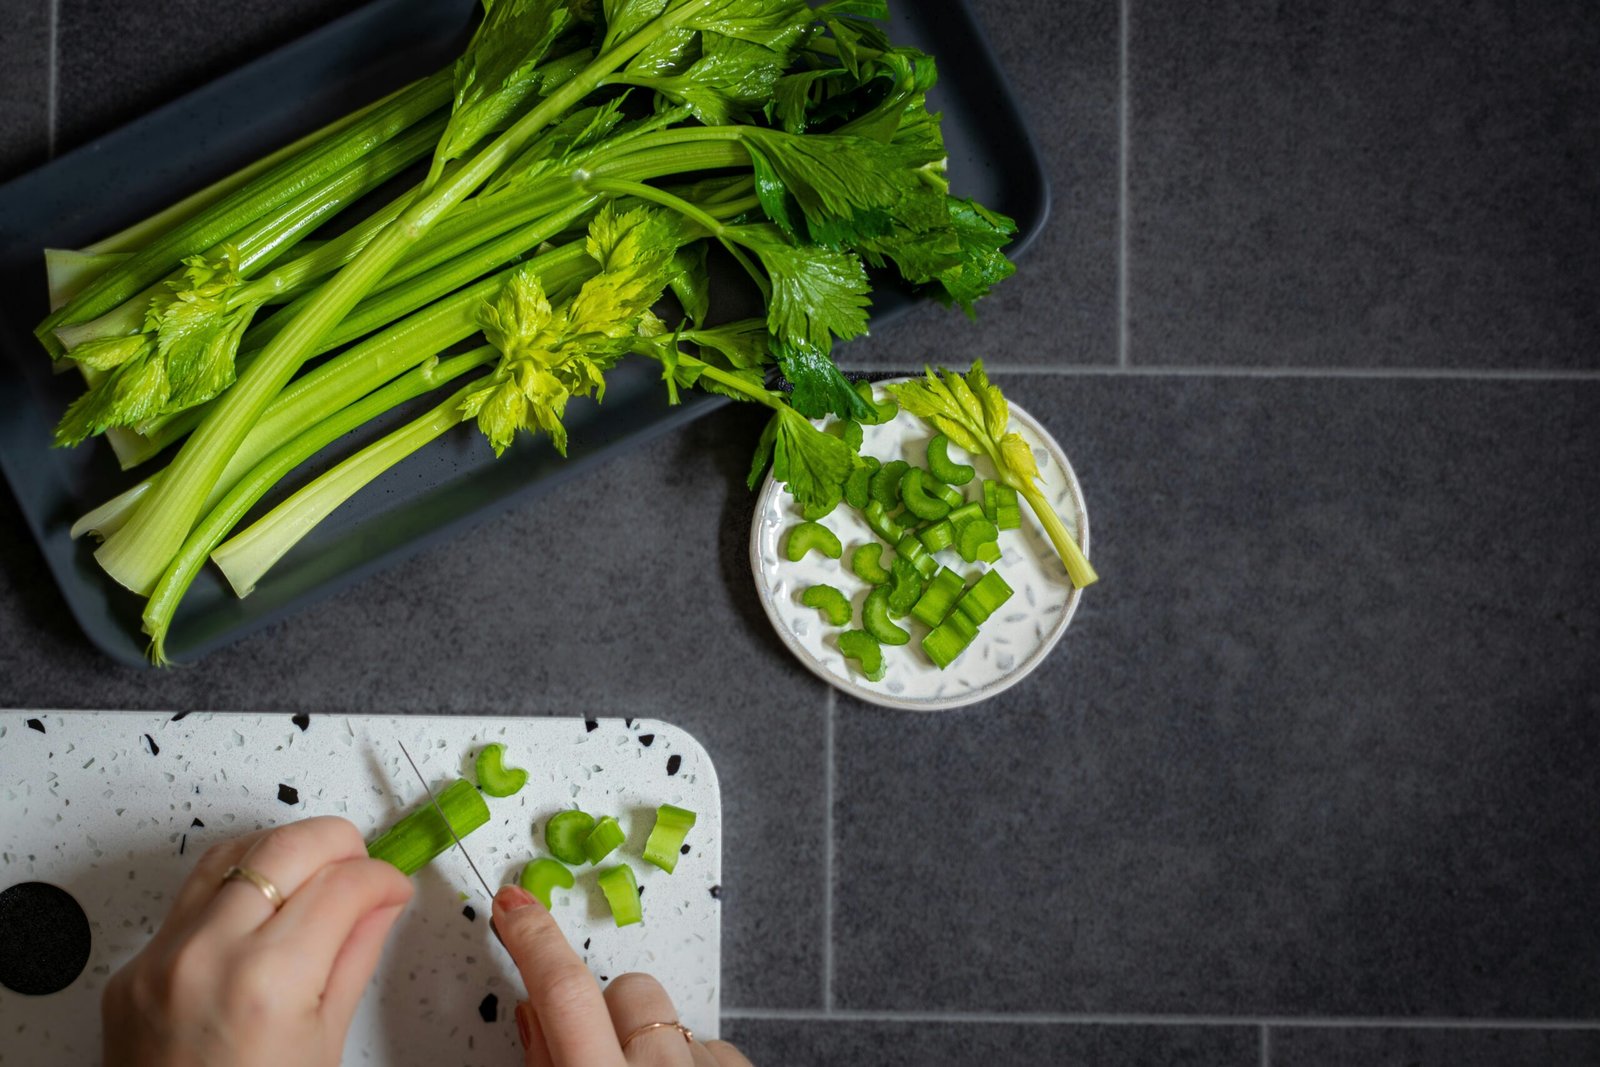
Step 4: Harvesting Celery
- Timing: Harvest when stalks are about 20–30 cm (8–12 inches) tall, typically 3–4 months after transplanting.
- Method: Cut outer stalks as needed or harvest the whole plant by cutting at the base.
Step 5: Replanting and Regrowth
Celery can regrow from the base:
- Cut the celery stalks, leaving about 2–3 inches of the base.
- Place the base in a shallow dish of water on a sunny windowsill.
- Once roots and new shoots appear (7–10 days), replant in soil.
- Maintain as with new plants.
Final Notes
Growing celery from seed takes patience but pays off with crisp, flavorful stalks. Focus on consistent care, especially in the early stages of growth. If you’d like help creating printable care cards or a visual planting calendar, let me know!