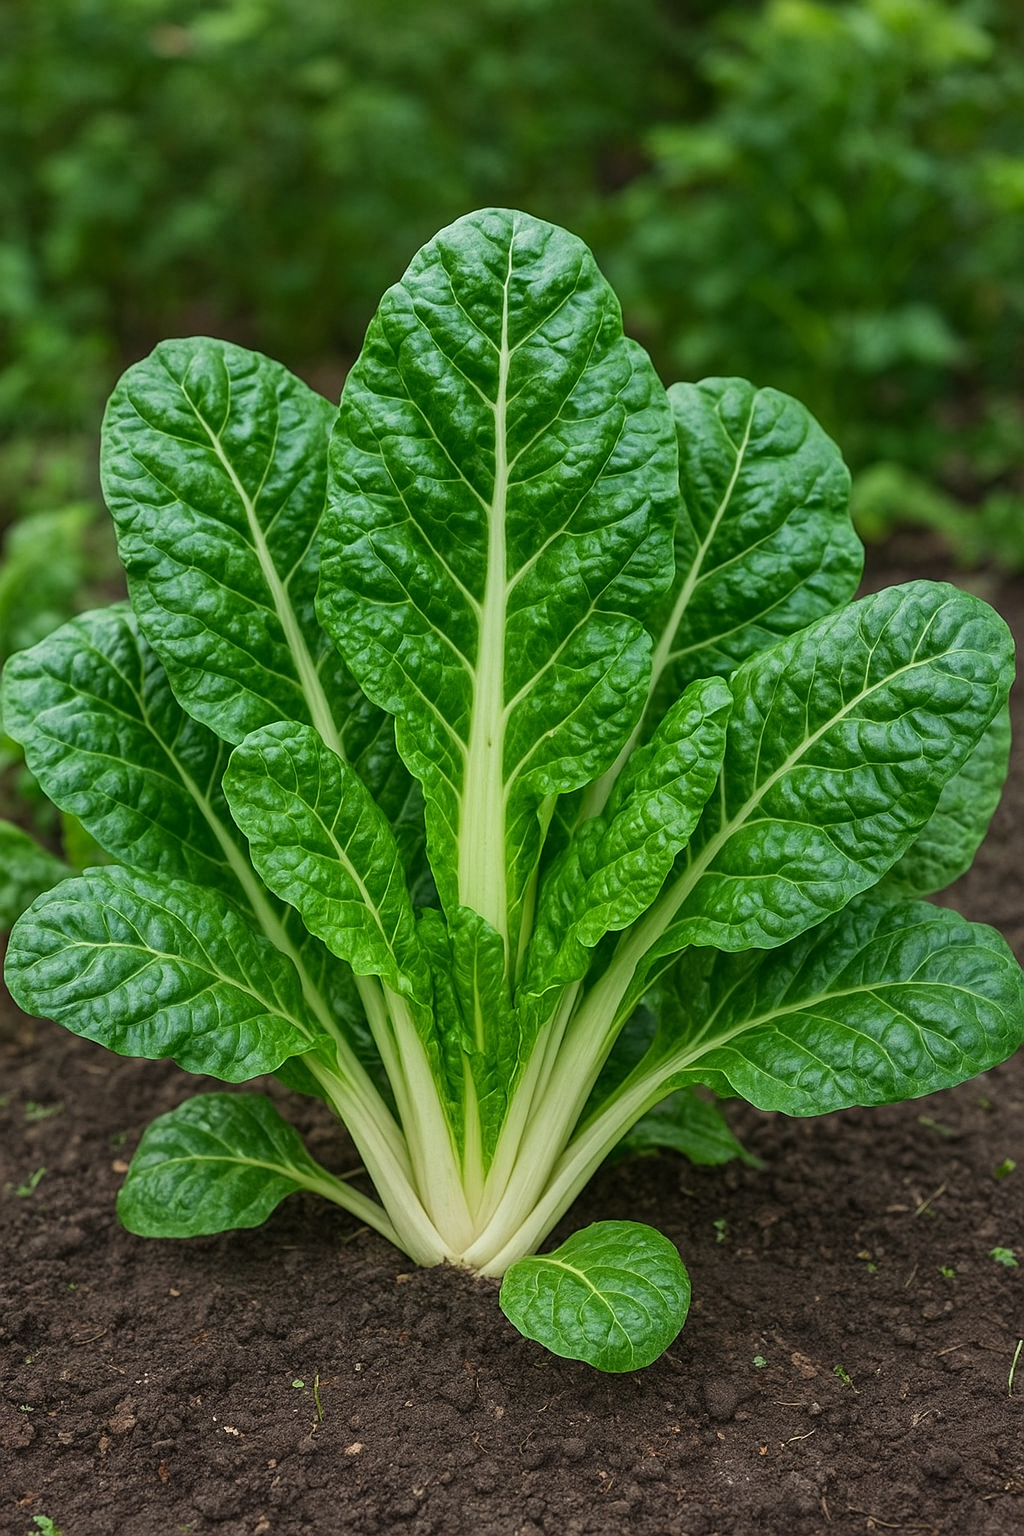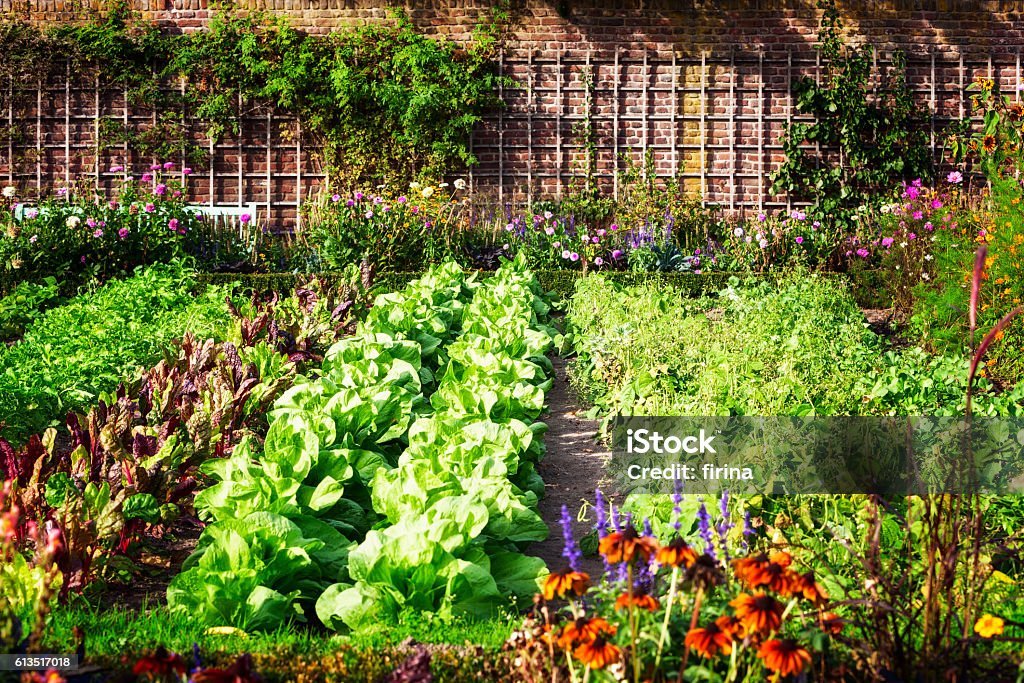
Ethiopian kale, also known as gomenzer or Abyssinian mustard, is a leafy green powerhouse native to the Horn of Africa. Rich in calcium, iron, and antioxidants, it’s a hardy and quick-growing plant perfect for home gardens. In this blog, we’ll walk you through every stage of its life cycle—from germinating seeds indoors to harvesting lush greens in your garden bed.
1. Germination: Starting Your Ethiopian Kale Seeds
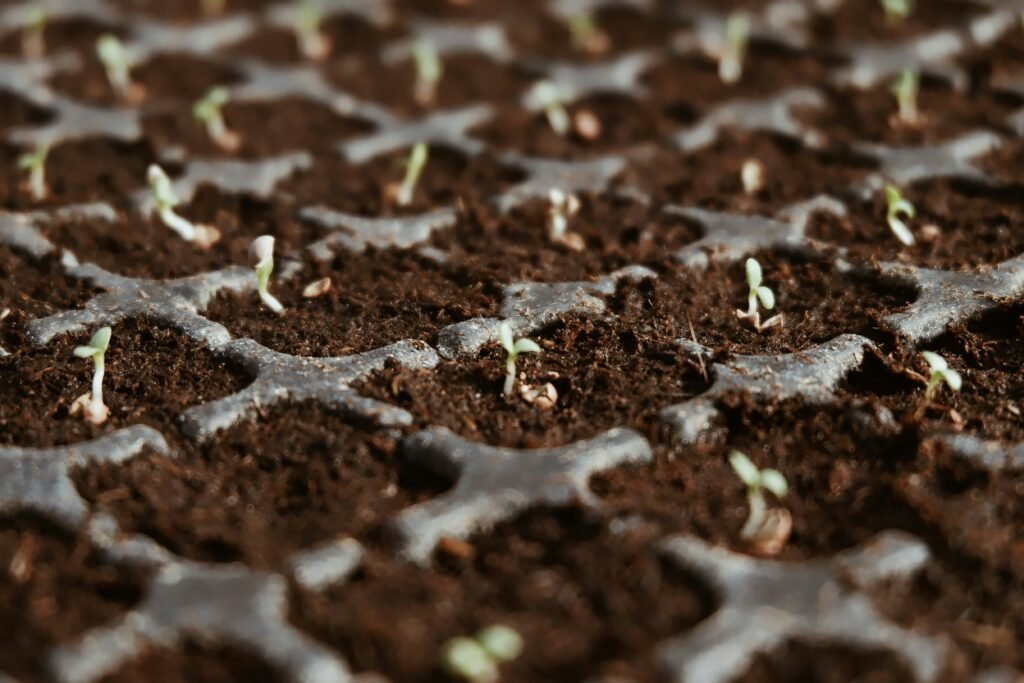
The first step to growing healthy Ethiopian kale is ensuring successful germination. You can begin seeds indoors in trays or small pots, ideally 4–6 weeks before the last frost date in your area.
Table 1: Germination Requirements for Ethiopian Kale
| Requirement | Details | Why It Matters |
|---|---|---|
| Soil | Seed-starting mix, well-draining | Provides the right structure and nutrients for early root development |
| Seed Depth | ¼ inch (0.6 cm) deep | Prevents seeds from rotting or drying out before sprouting |
| Watering | Keep consistently moist but not soggy | Maintains ideal moisture levels for embryo activation |
| Temperature | 65–75°F (18–24°C) | Warmer temperatures speed up germination (typically 5–10 days) |
| Light | Bright indirect light or grow light | Light is needed once seeds sprout to prevent leggy seedlings |
| Humidity | Moderate to high (cover tray with plastic lid) | Retains moisture and warmth, simulating a mini greenhouse |
| Time to Germinate | 5–10 days | Faster than many greens—ideal for quick succession planting |
Steps for Indoor Germination:
- Fill seed trays with a moist, fine seed-starting mix.
- Sow seeds ¼ inch deep.
- Cover lightly with soil and gently press down.
- Mist lightly with water and cover trays with a humidity dome or plastic wrap.
- Place in a warm, well-lit spot.
- Remove cover once sprouted and continue watering as needed.
2. Transplanting to the Garden Bed
Once seedlings have 2–3 sets of true leaves and nighttime temperatures are reliably above 50°F (10°C), it’s time to harden them off and transplant outdoors.
Hardening Off:
Gradually expose seedlings to outdoor conditions over 7–10 days. Start with 2 hours of morning sun and increase exposure daily to prevent transplant shock.
Transplanting Tips:
- Choose a sunny, well-drained garden bed.
- Space plants 12–18 inches apart.
- Water the bed thoroughly before planting.
- Transplant in the late afternoon or on an overcast day to reduce stress.
3. Growing & Maintenance
Once in the garden bed, Ethiopian kale grows vigorously with minimal fuss. Regular care ensures a long and productive harvest.
Table 2: Growing & Maintenance Requirements
| Requirement | Details | Why It Matters |
|---|---|---|
| Watering | 1–1.5 inches per week (deep watering) | Keeps soil moist, supports lush leaf growth, and prevents bolting |
| Sunlight | 6–8 hours of full sun daily | Ensures strong photosynthesis and nutrient-rich leaves |
| Soil pH | 6.0–7.0, rich in compost | Supports healthy root development and nutrient uptake |
| Temperature | Ideal: 60–75°F (15–24°C) | Promotes vigorous growth without triggering bolting |
| Pest Control | Monitor for aphids, flea beetles, cabbage worms | Pests can quickly defoliate plants; neem oil or row covers are effective |
| Mulching | Use straw or leaves around plants | Retains soil moisture and prevents weed competition |
| Fertilization | Light feeding with compost or balanced organic fertilizer every 3–4 weeks | Keeps plants productive without over-fertilizing |
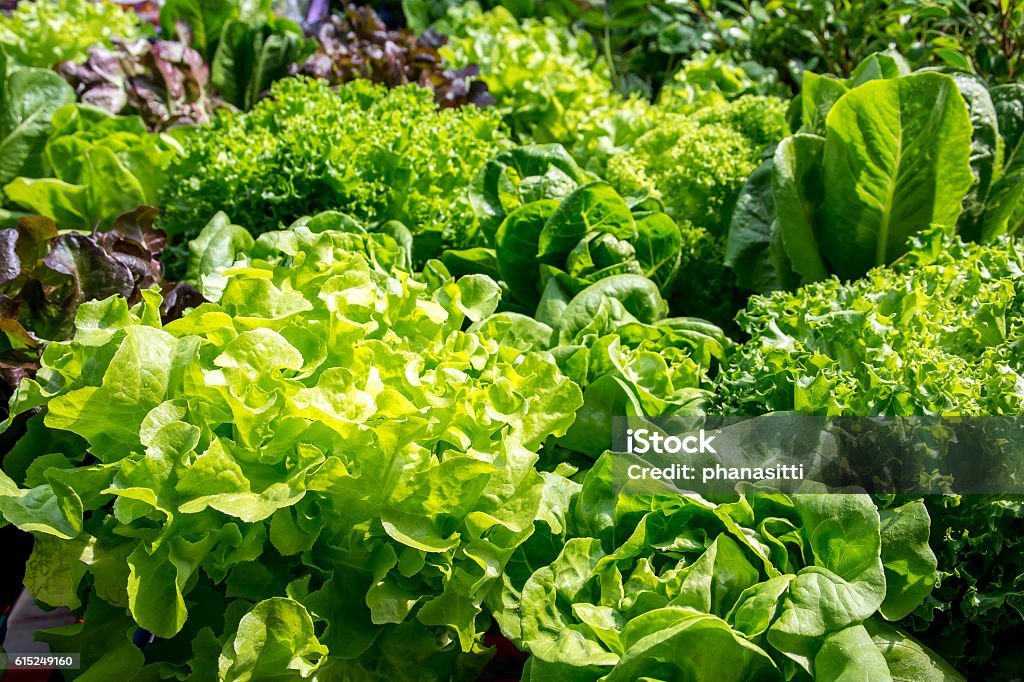
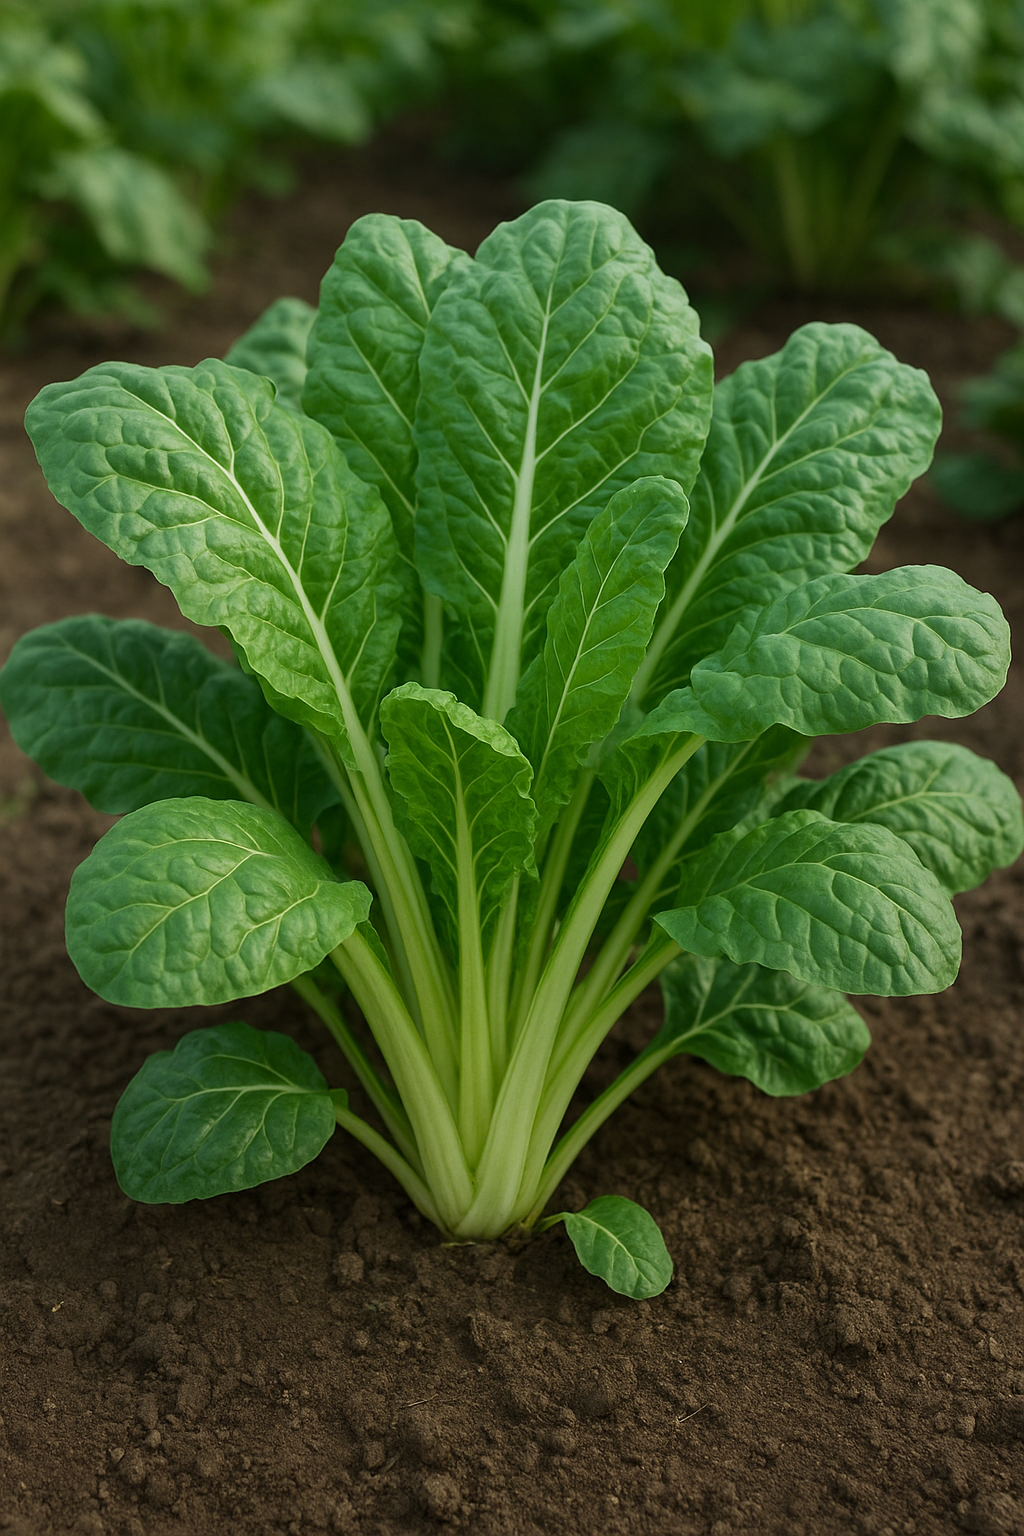
4. Harvesting Ethiopian Kale
You can begin harvesting young outer leaves when they reach 4–6 inches in length, typically 30–40 days after transplanting.
Harvesting Tips:
- Pick outer leaves and allow the center to keep growing (cut-and-come-again).
- Harvest in the morning for best texture and flavor.
- Stop harvesting once flowering begins unless saving seeds.
5. Replanting and Seed Saving
Ethiopian kale can be replanted multiple times in a season, especially in temperate climates. You can also save seeds for the next planting cycle.
Replanting:
- Start a new batch every 6–8 weeks for continuous greens.
- Rotate planting locations to avoid soil-borne disease buildup.
Seed Saving:
- Allow a few plants to bolt and flower.
- Pods will form and dry on the stem.
- Harvest when pods are brown and brittle.
- Store seeds in a cool, dry place.
Why Grow Ethiopian Kale?
- Nutrient-Dense: Packed with vitamins A, C, and calcium.
- Cold-Hardy: Tolerates cool weather better than many brassicas.
- Fast-Growing: Quick germination and regrowth after harvest.
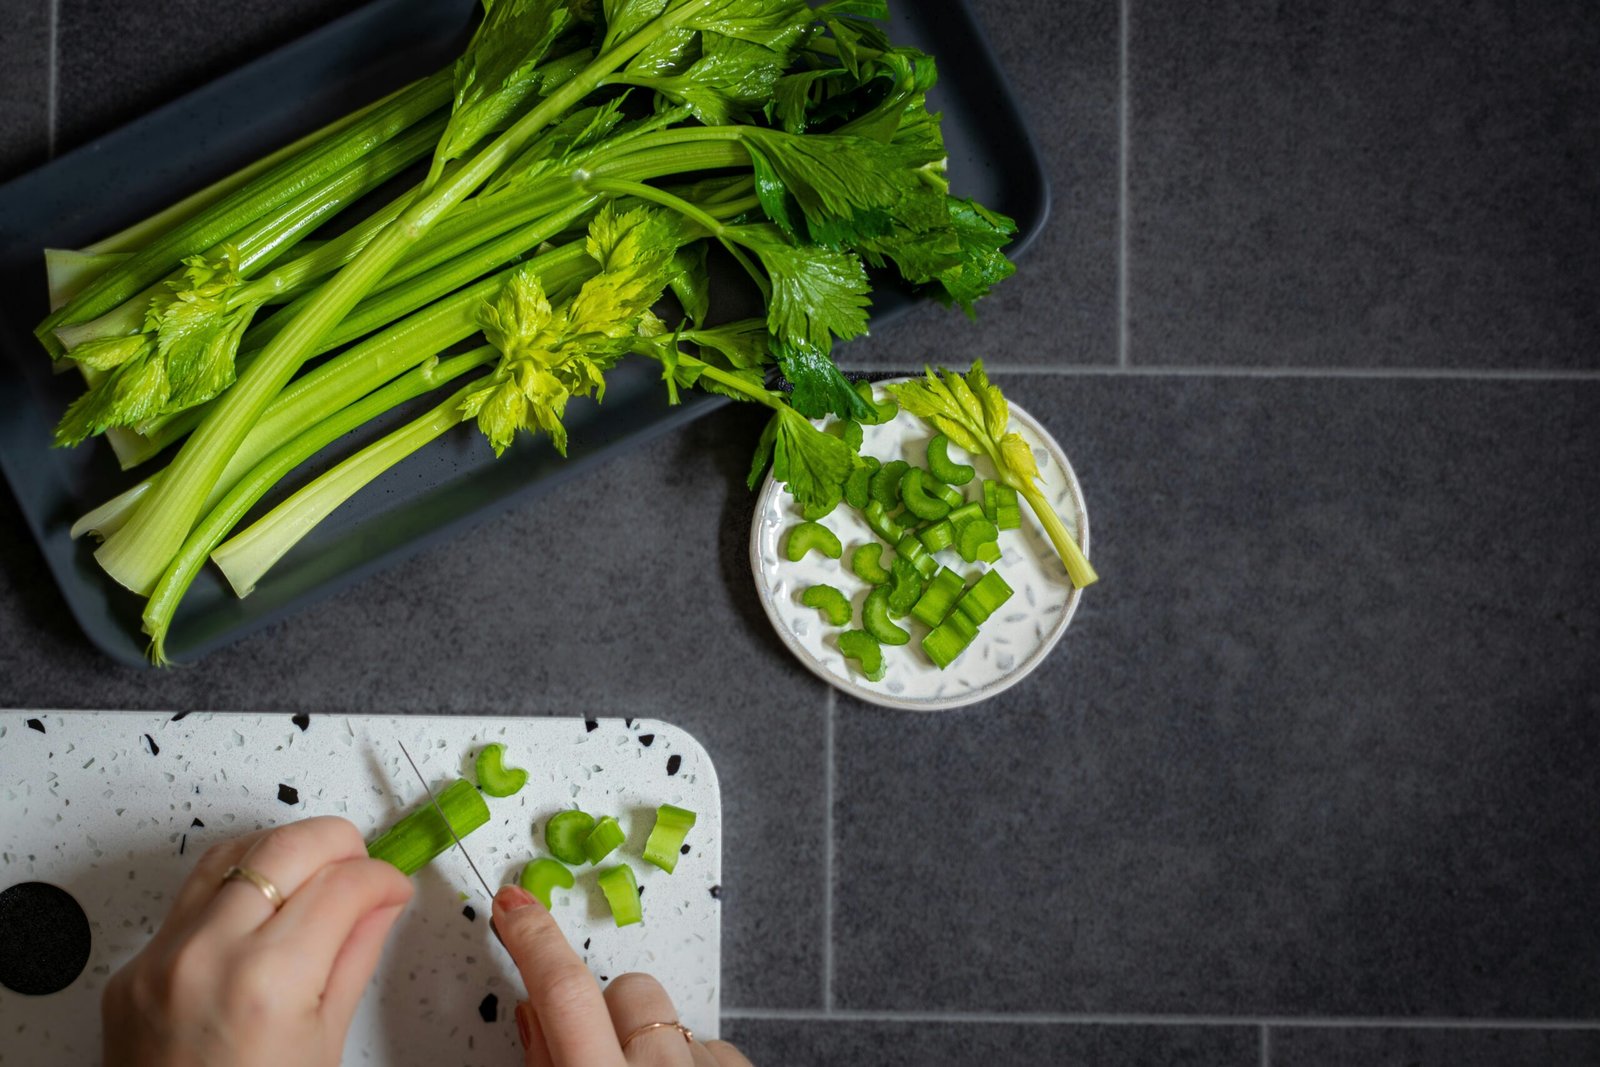
- Culinary Versatility: Use raw in salads or cooked in stews and stir-fries.
In Conclusion, growing Ethiopian kale from seed is a satisfying and nutritious way to fill your garden with leafy greens. With just a bit of planning and care, you’ll enjoy multiple harvests from a single planting and have seeds ready for future seasons.
Let your garden flourish—one leaf at a time!